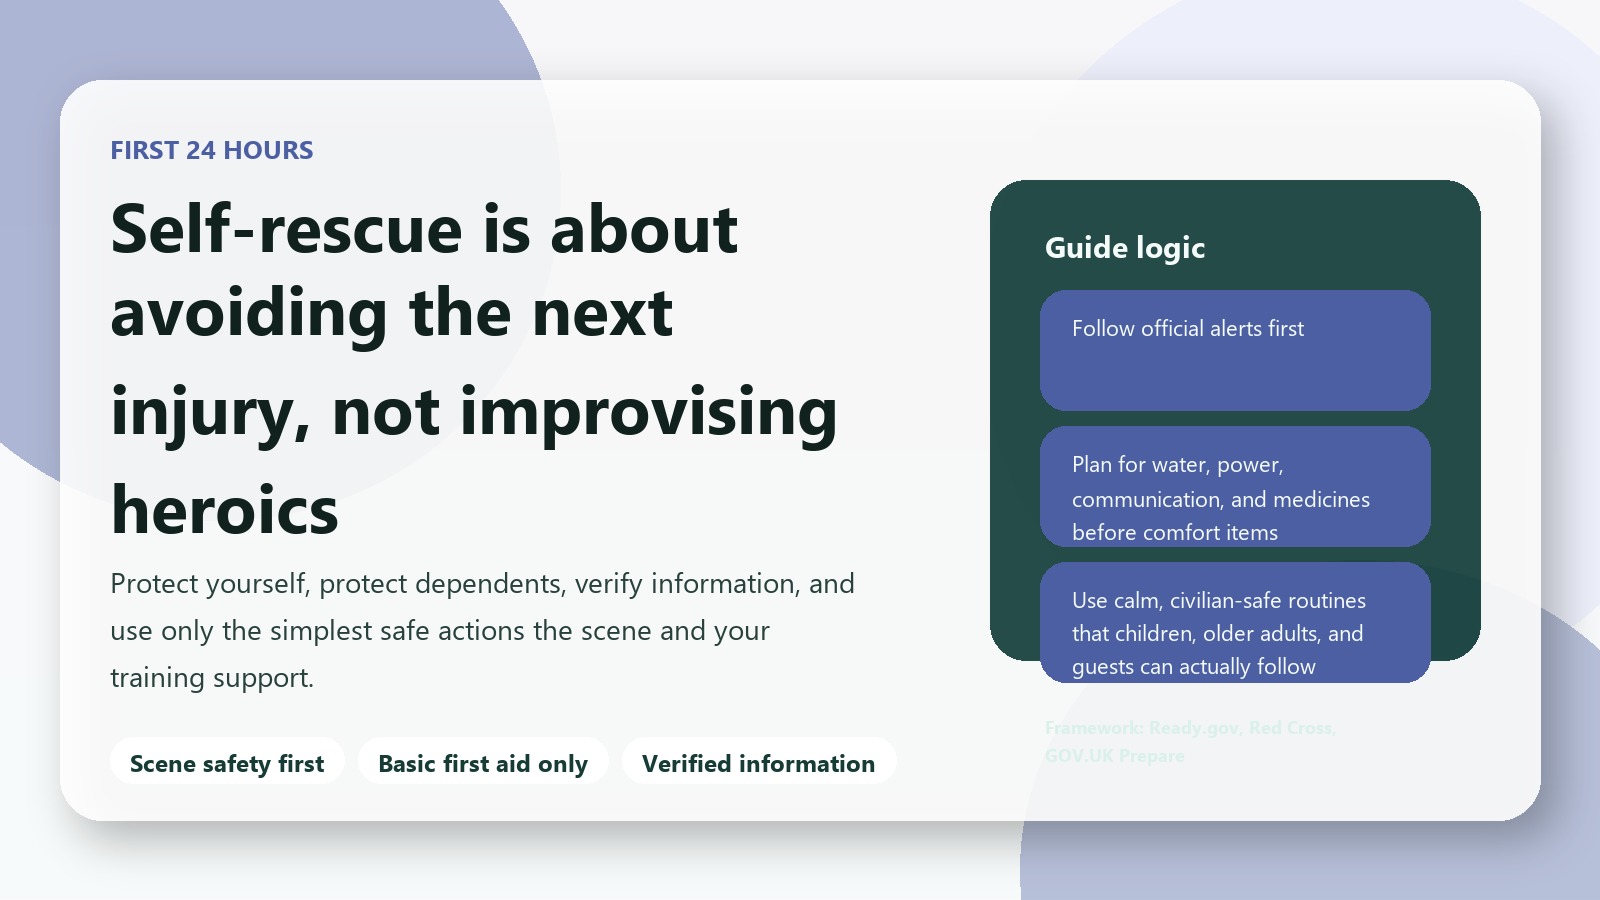
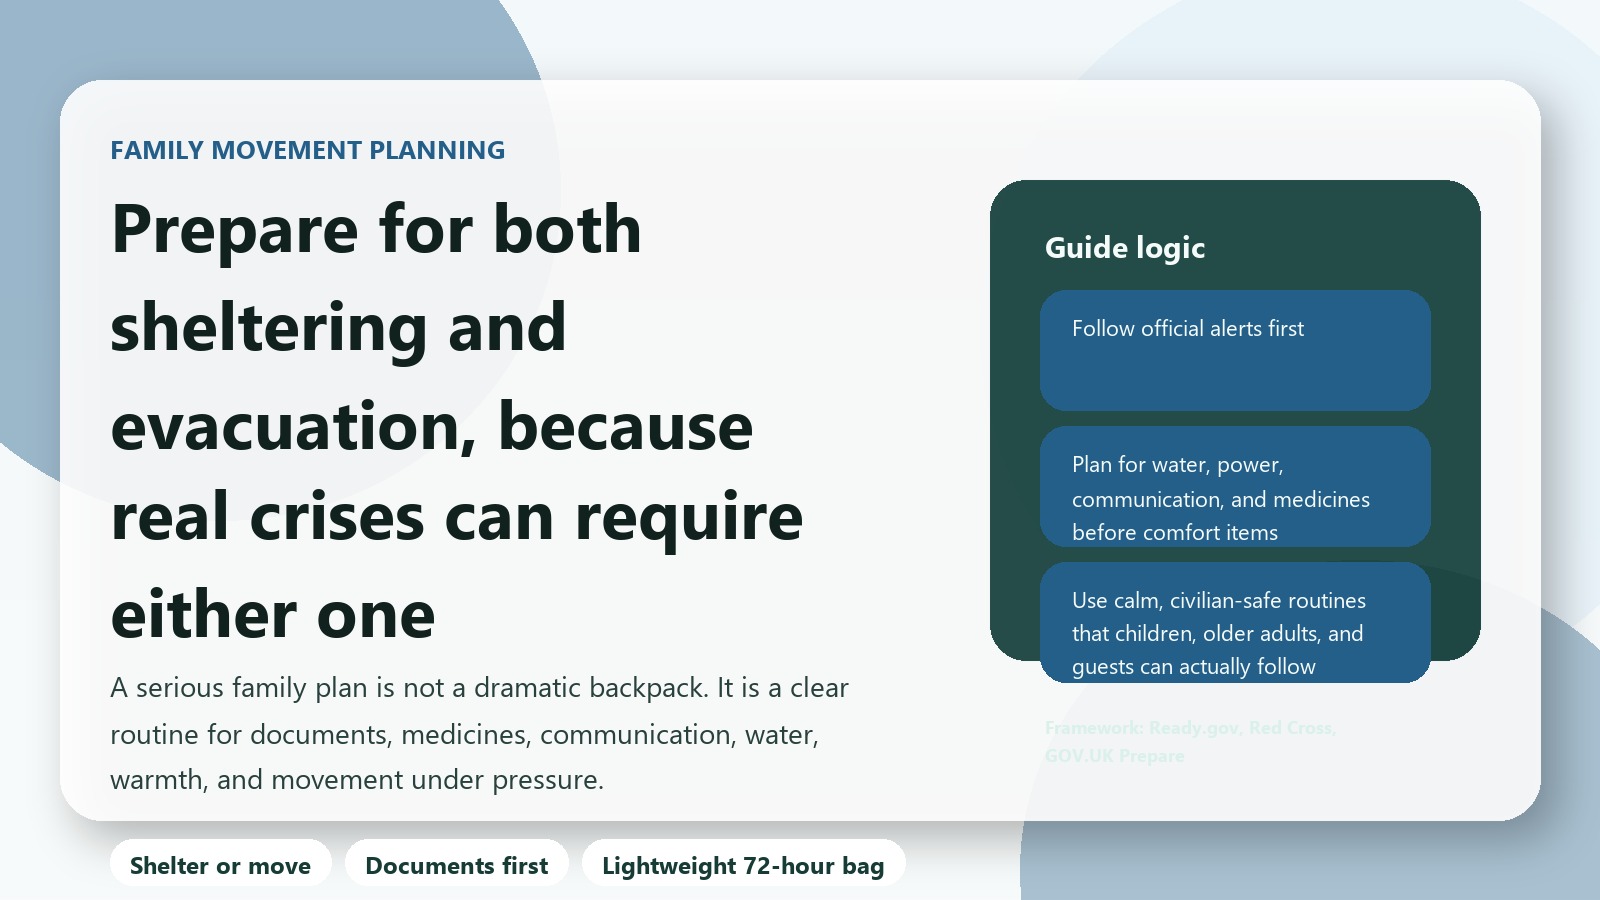
Most emergency preparedness advice is written for people who own houses. The guides assume you have a garage for a chest freezer full of stored food, a basement with shelving for 30 gallons of water, a yard for a generator, and a driveway to park a fully stocked vehicle. If you rent a 600-square-foot apartment on the third floor of a walk-up, that advice is useless.
This is the guide I wish I had found three years ago when a February ice storm knocked out power to my building for 54 hours. I had a phone at 31%, no flashlight, a refrigerator full of food I could not cook, and neighbors knocking on doors asking if anyone had batteries. The experience was clarifying. Not dangerous, not dramatic, but clarifying in the way that only real inconvenience and real helplessness can be.
Here is how to build a complete emergency kit that fits inside a hall closet, costs less than two months of takeout, and covers the scenarios apartment renters actually face.
The Apartment-Specific Threat Model
Renters face a different risk profile than homeowners. The most likely emergencies for apartment dwellers, in rough order of probability:
- Extended power outage (4-72+ hours): Ice storms, grid overload, transformer failures. Your building has no backup generator unless it is a luxury high-rise. Elevators stop. Hallway lights go dark. Your electric stove is useless. Your phone is your lifeline and it is dying.
- Water service disruption: Main breaks, boil-water advisories, contamination events. You cannot dig a well. You cannot collect rainwater on the third floor. You depend entirely on stored water and whatever is in your pipes.
- Building evacuation (fire, gas leak, structural): You have minutes to leave. You can carry one bag. The elevator is not an option. You are walking down stairs with whatever is in your hands.
- Severe weather shelter-in-place: Tornado warning, hurricane, extreme cold snap. You are stuck inside, possibly without power, for 12-48 hours.
- Neighborhood disruption (civil unrest, hazmat spill): You need to stay inside with doors and windows sealed, or you need to leave quickly via a non-obvious route.
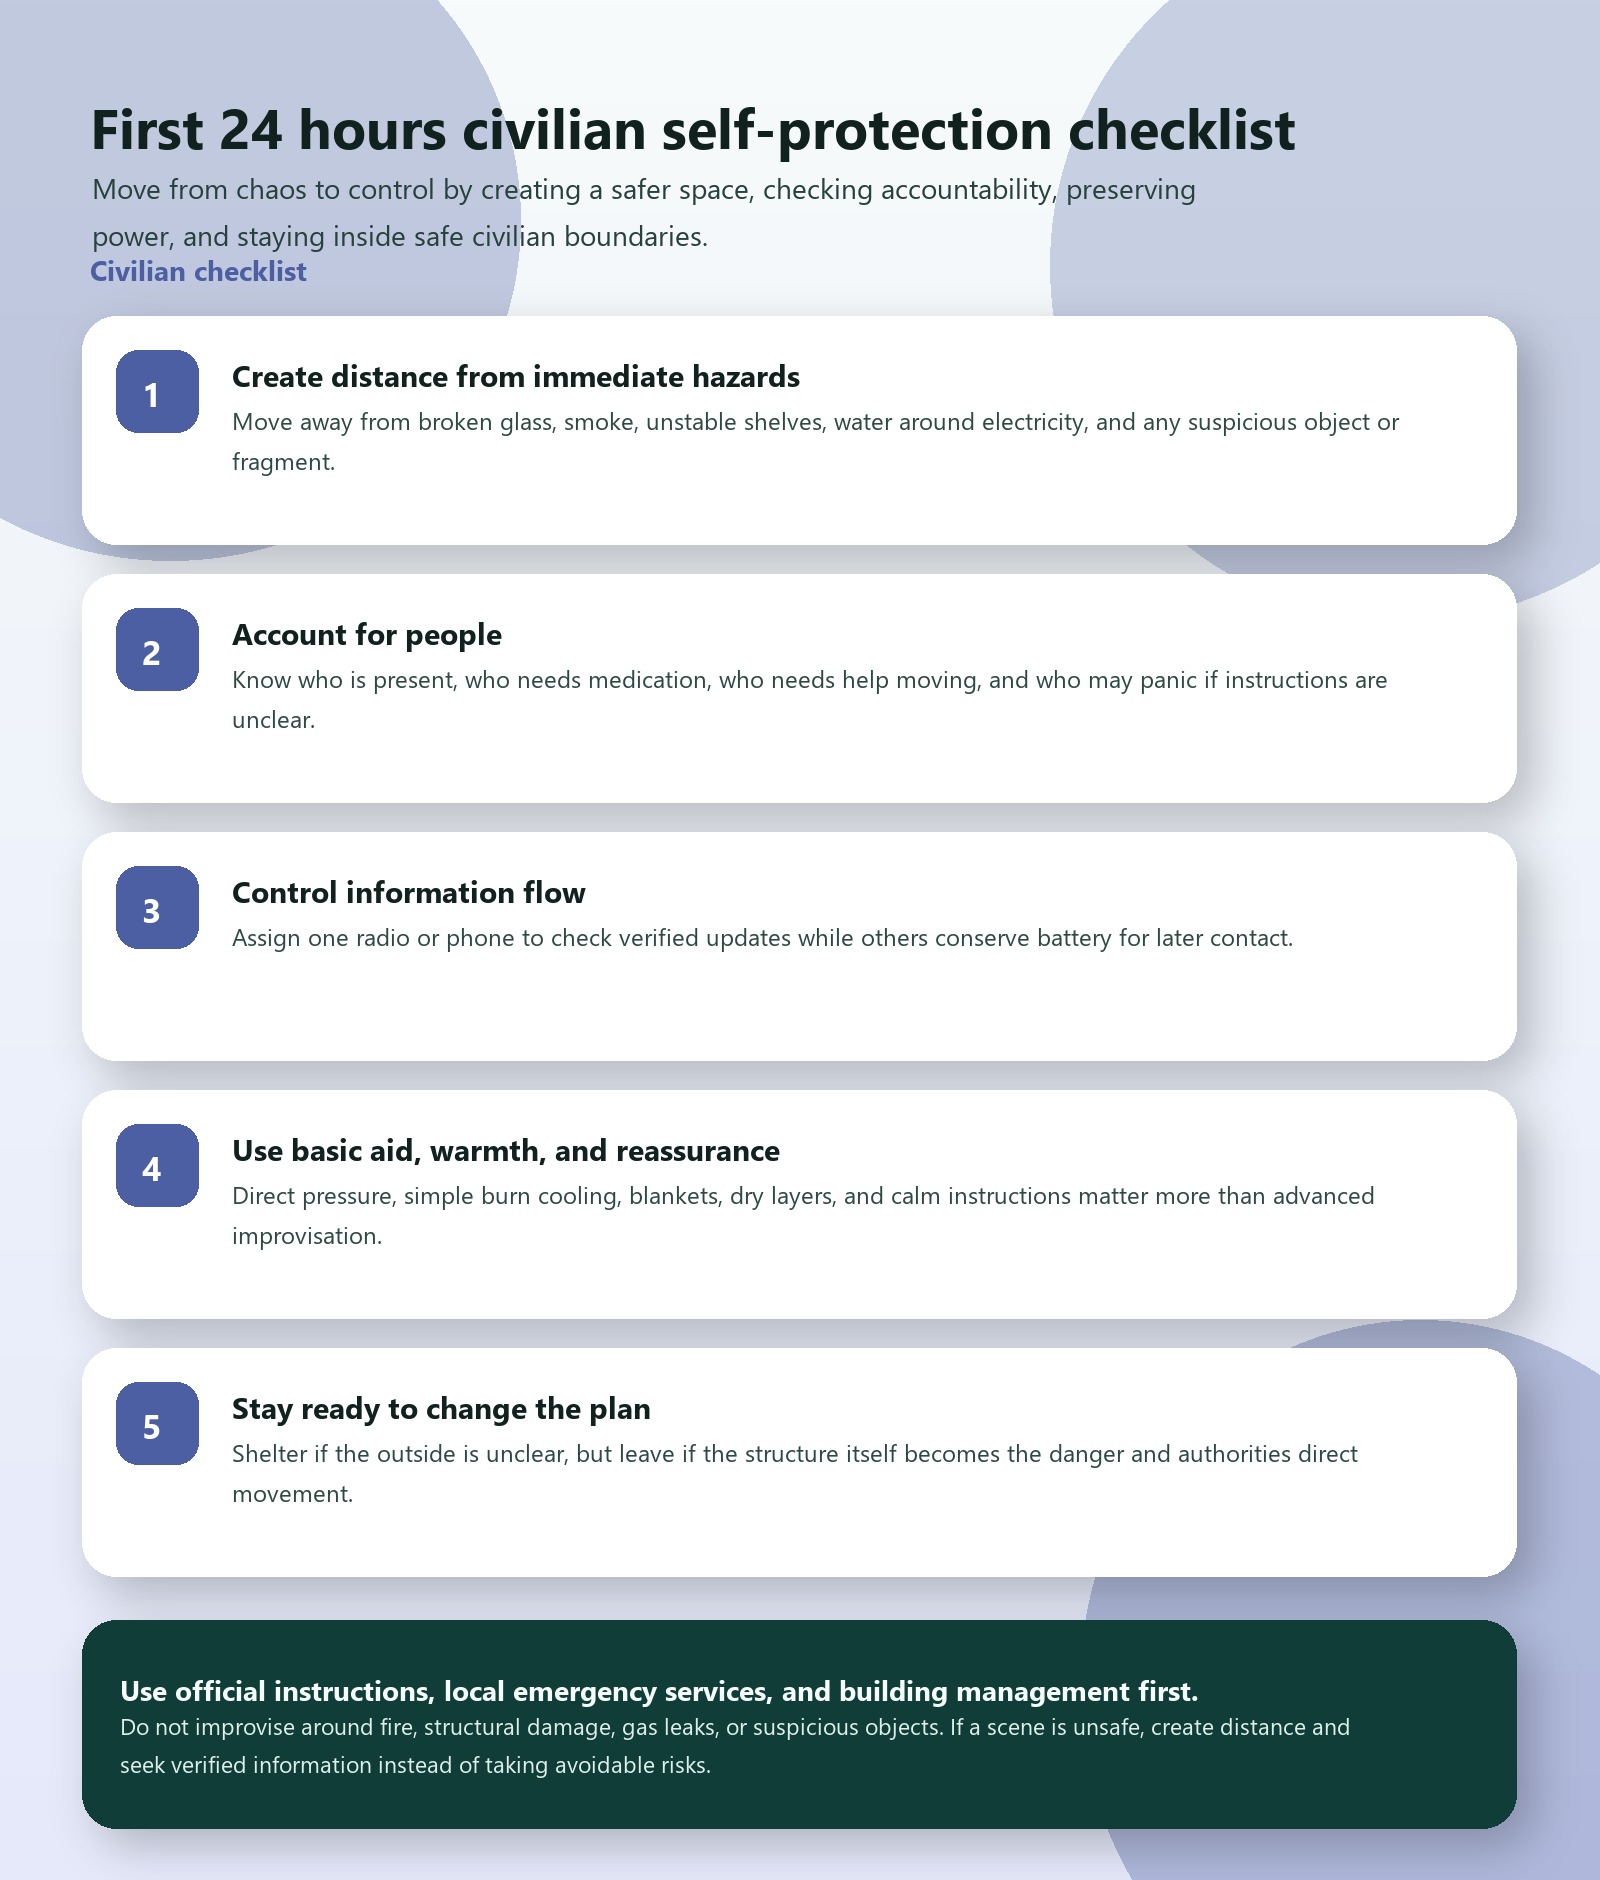
Notice what is not on this list: wilderness survival, off-grid homesteading, bugging out to a remote cabin. Those scenarios sell products but they are not what apartment dwellers actually experience. Your emergency plan should optimize for power, water, light, communication, and a fast exit. Everything else is secondary.
Layer 1: The Blackout Box (Solves 80% of Apartment Emergencies)
This single container, stored on a closet shelf, handles extended power outages, the most common apartment emergency by a wide margin.
| Item | Why | Size |
|---|---|---|
| Portable power station (300-500Wh) | Charges phones 25-40x, runs lights for days, powers a CPAP overnight | Shoebox |
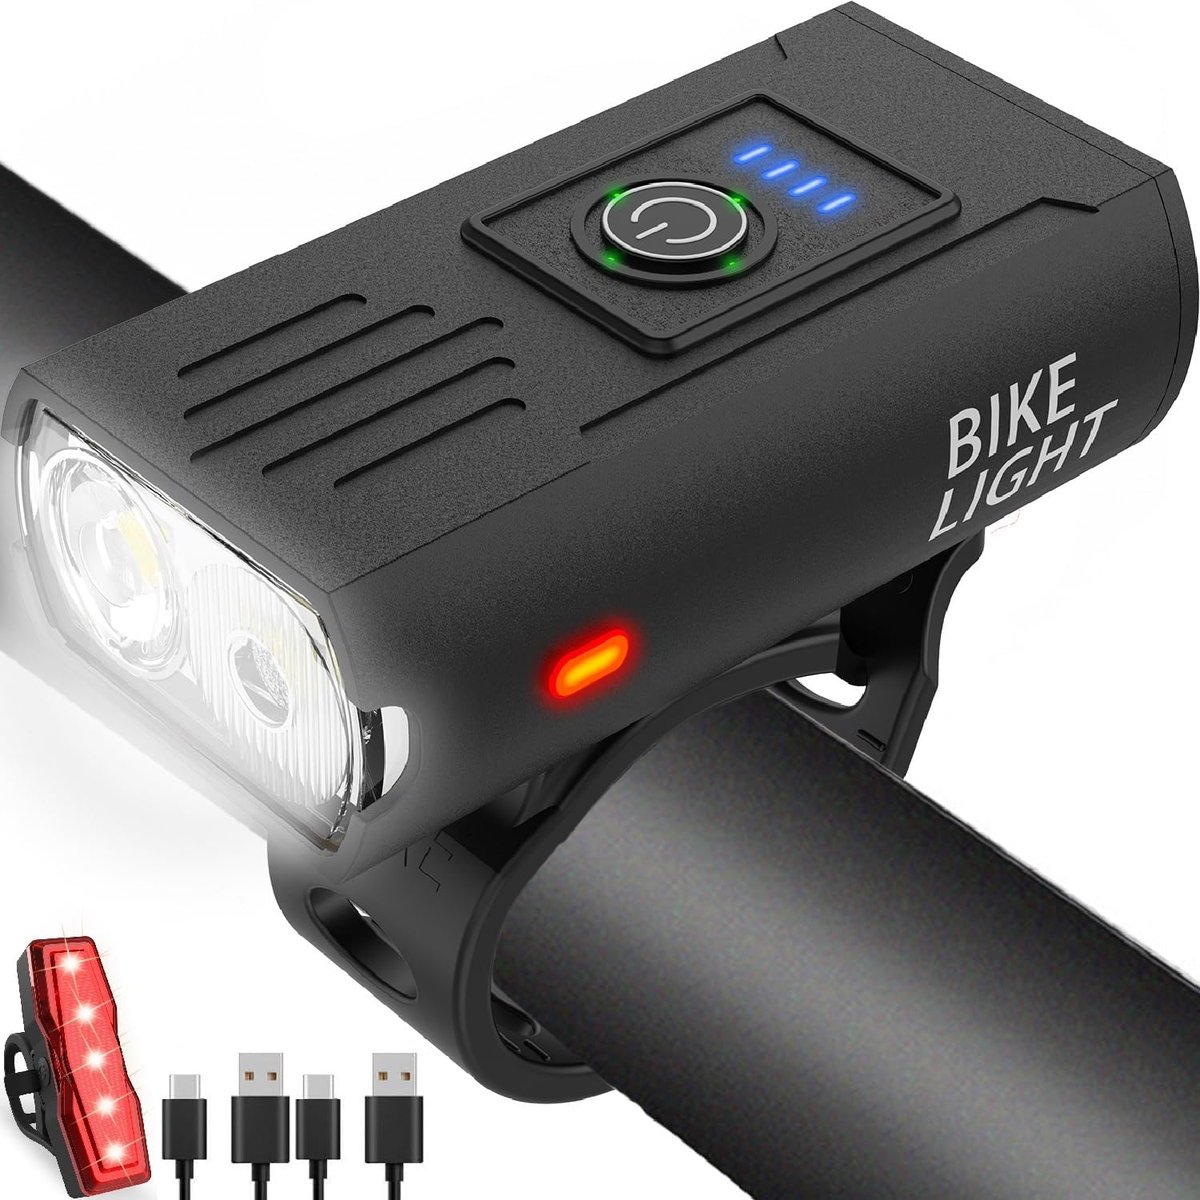
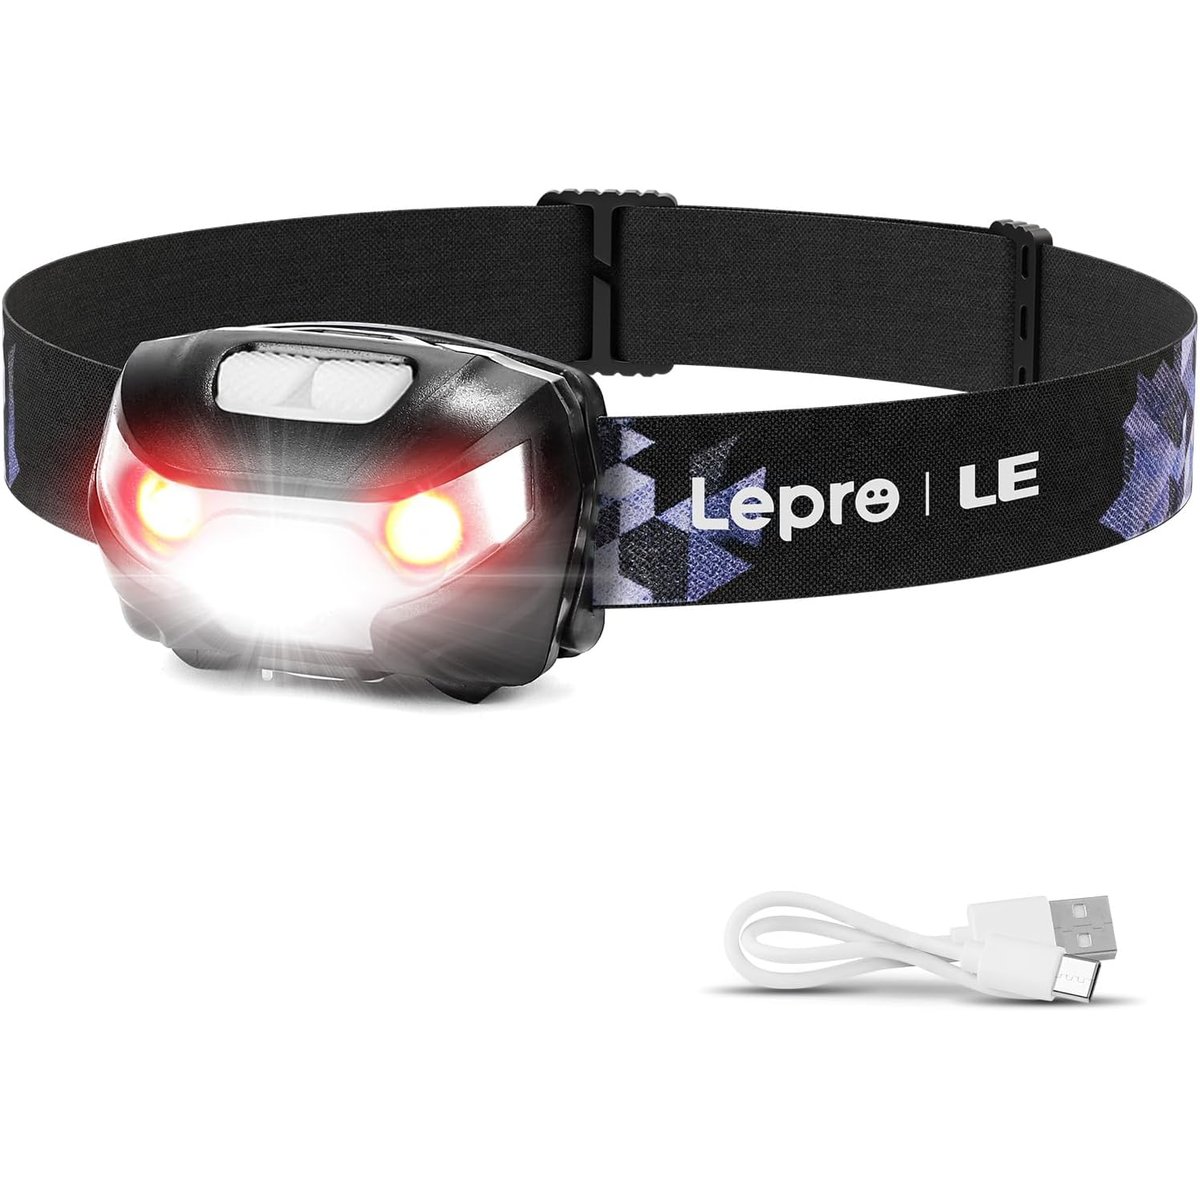
| USB rechargeable headlamp (x2) | Hands-free light for cooking, first aid, stairwell navigation | Palm |
| LED lantern | Room-level ambient light, far safer than candles in a rental | Soda can |
| NOAA weather radio (USB rechargeable + hand crank) | Weather alerts, evacuation orders, news when internet is down | Paperback |
| USB-C cables + adapters (x3) | Your power station is useless without the right cables | |
| Battery-powered carbon monoxide detector | Neighbors will use grills and propane indoors during outages. They will. | Deck of cards |
This entire layer fits inside a plastic storage bin on a closet shelf. It is the single most impactful investment because it covers the gap between “annoying inconvenience” and “I cannot function.” A charged phone means you can call for help, check road conditions, and receive emergency alerts. Lights mean you can move safely, find medication, and avoid falls. A radio means you know what is happening outside when the internet is down.
Watch: A Well-Organized Power Outage Kit in Action
To see how all of these items fit together in practice, this walkthrough from TheUrbanPrepper demonstrates a compact, grab-and-go blackout kit that covers lighting, power, and communication in a single organized bag:
Notice how everything in the video fits into a single container. That is the design principle for apartment preparedness: one box, one shelf, zero floor space consumed.
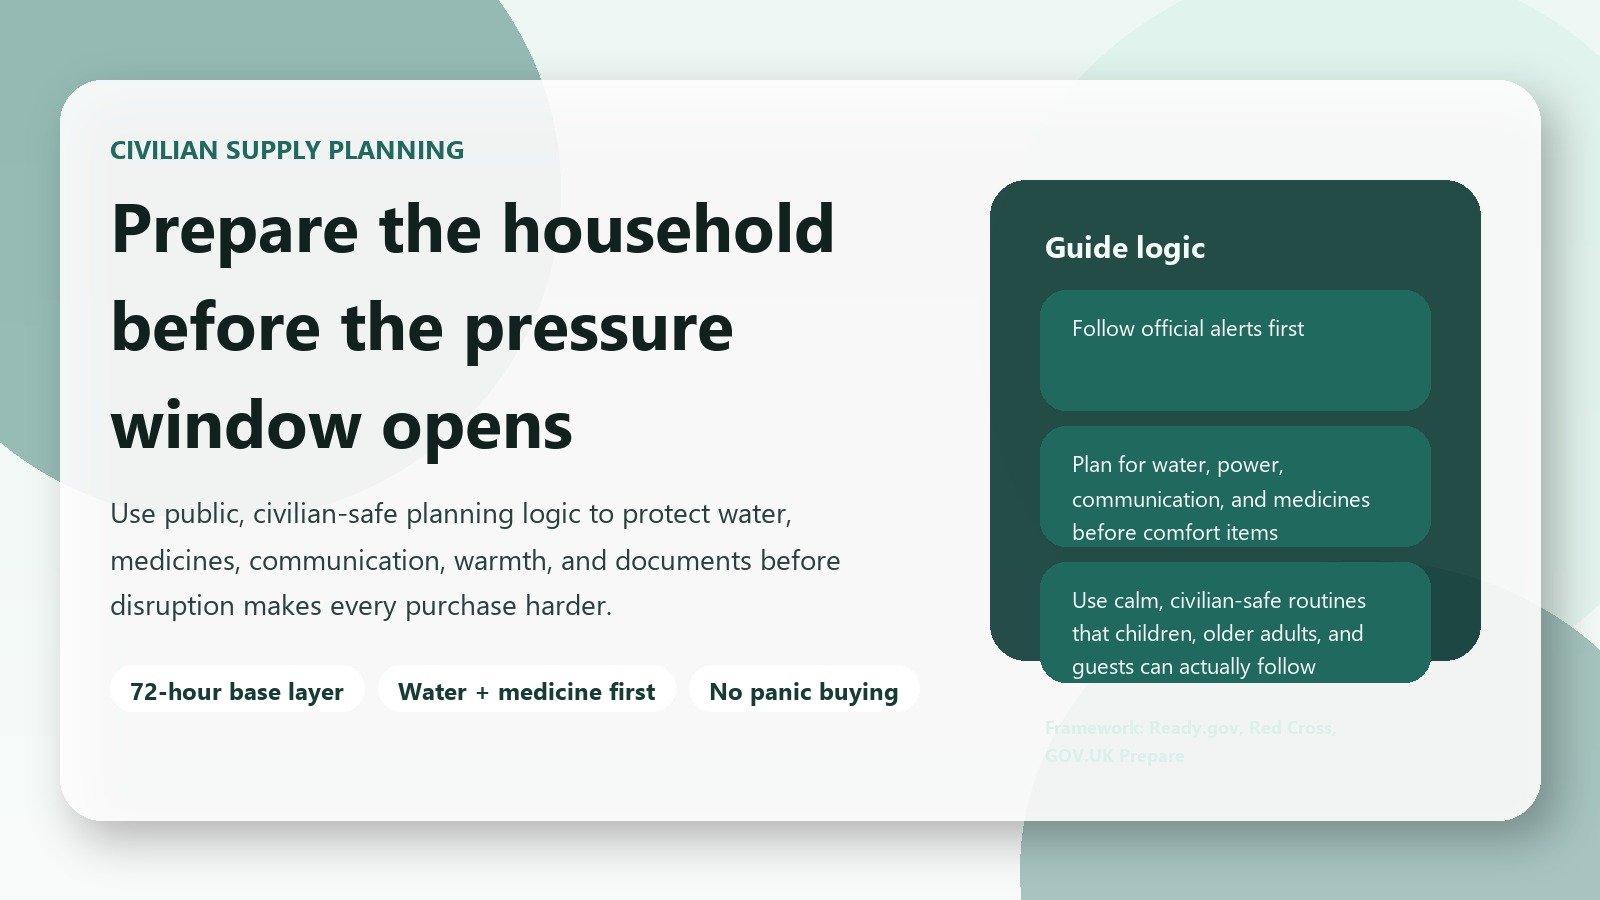
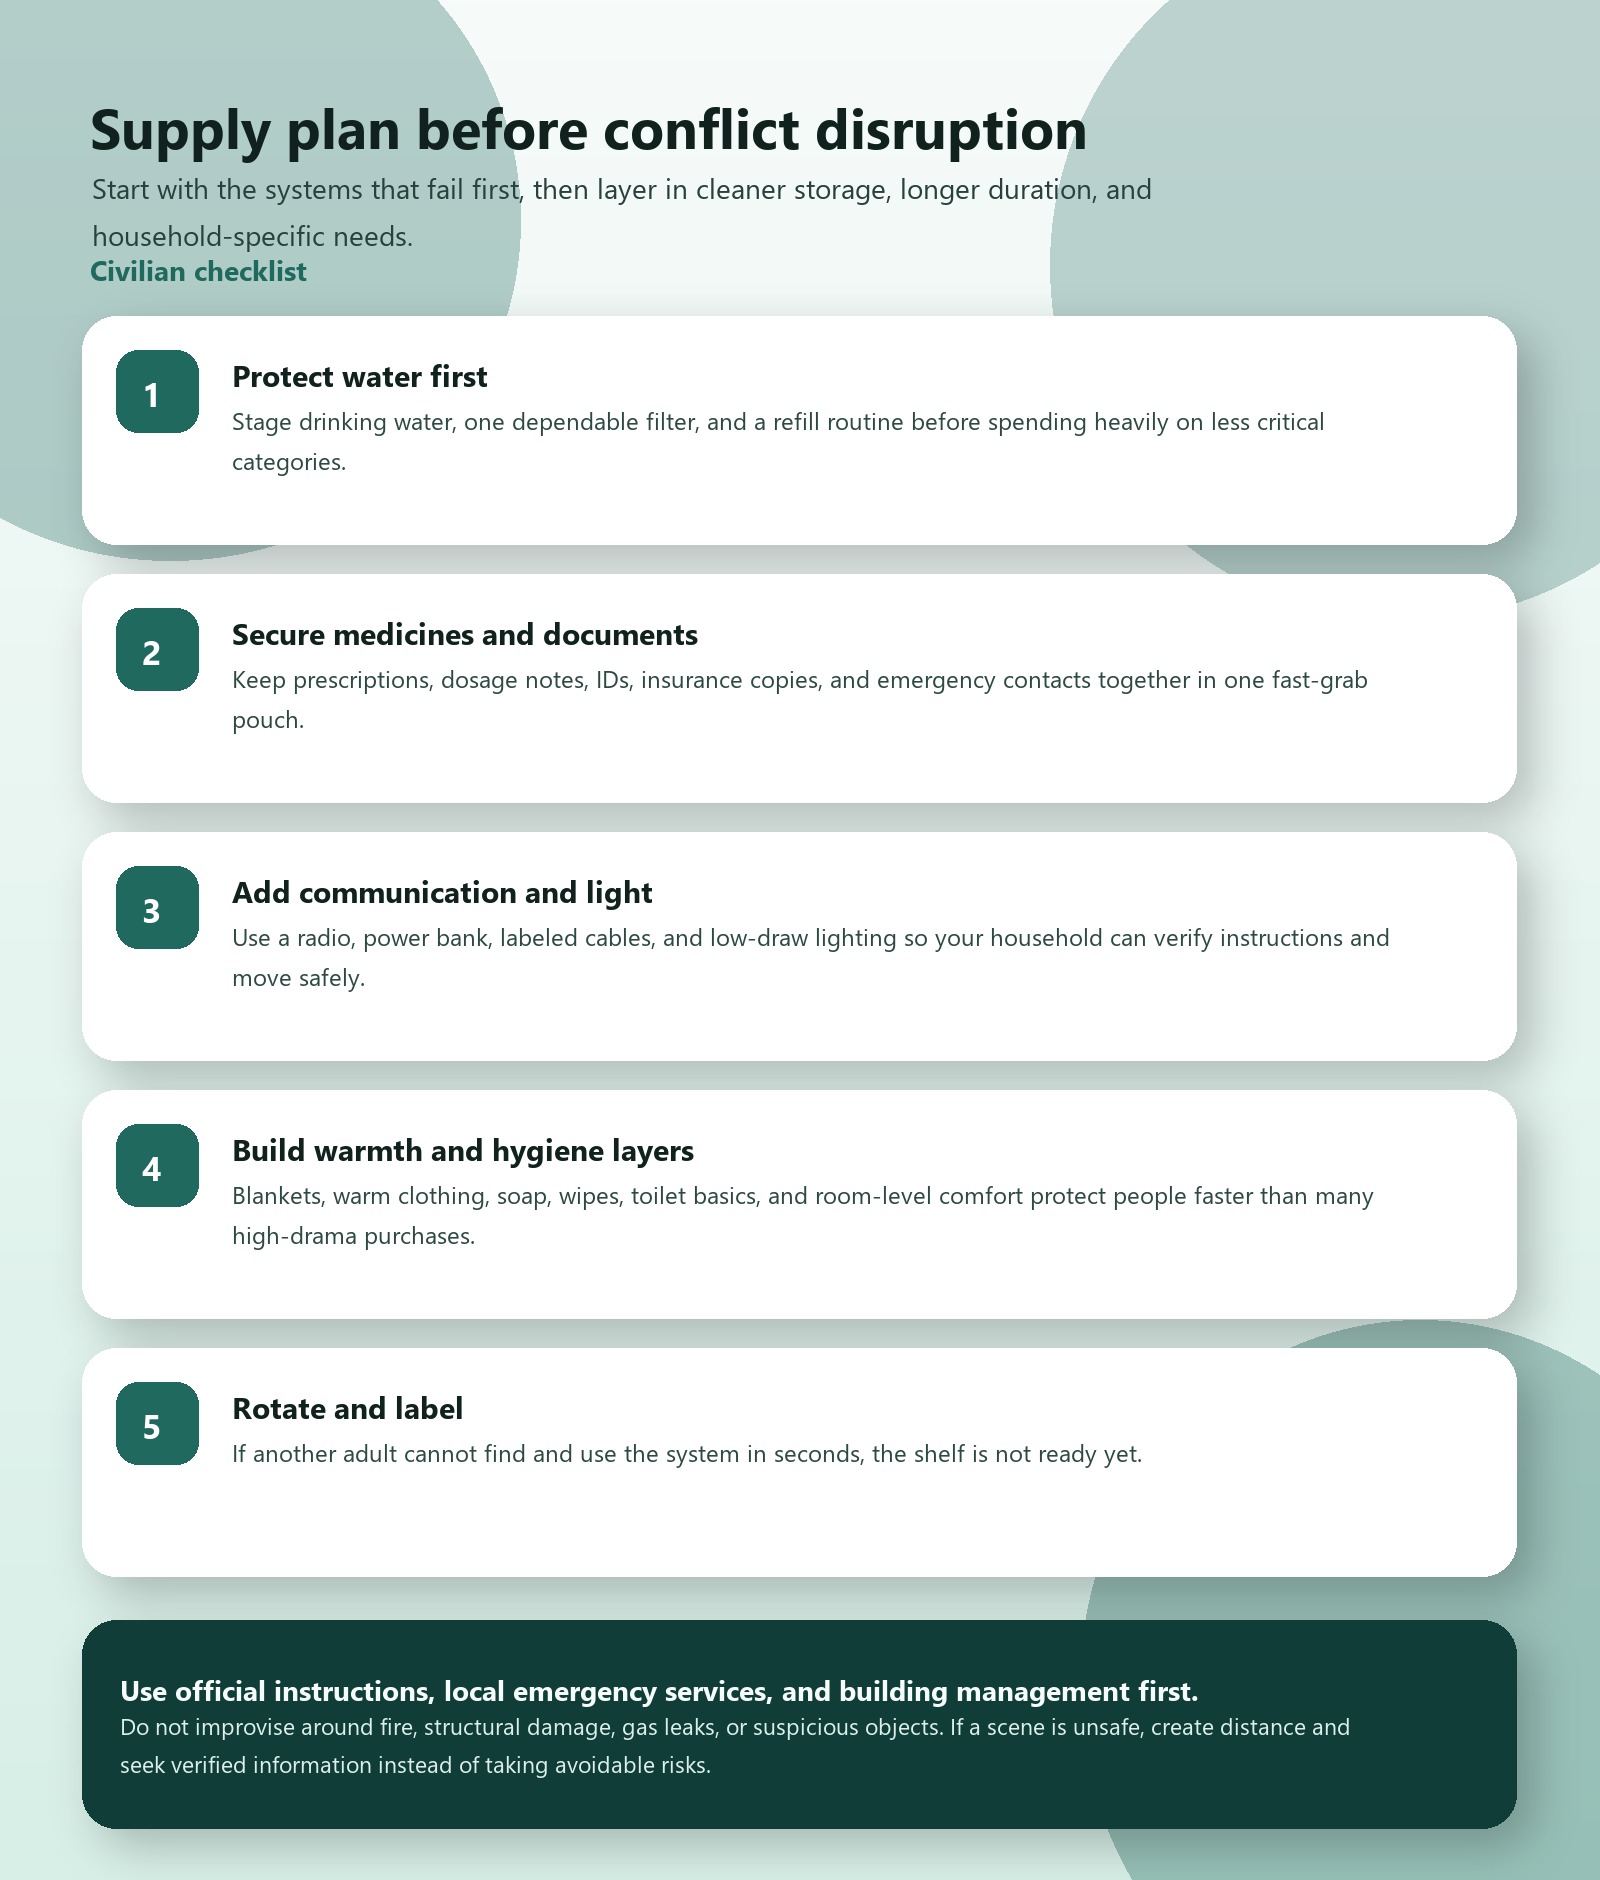
Layer 2: Water and Food (48-72 Hour Bridge)
You cannot store 30 gallons in an apartment. You do not need to. You need enough to bridge the gap between a disruption and either restored service or an organized evacuation.
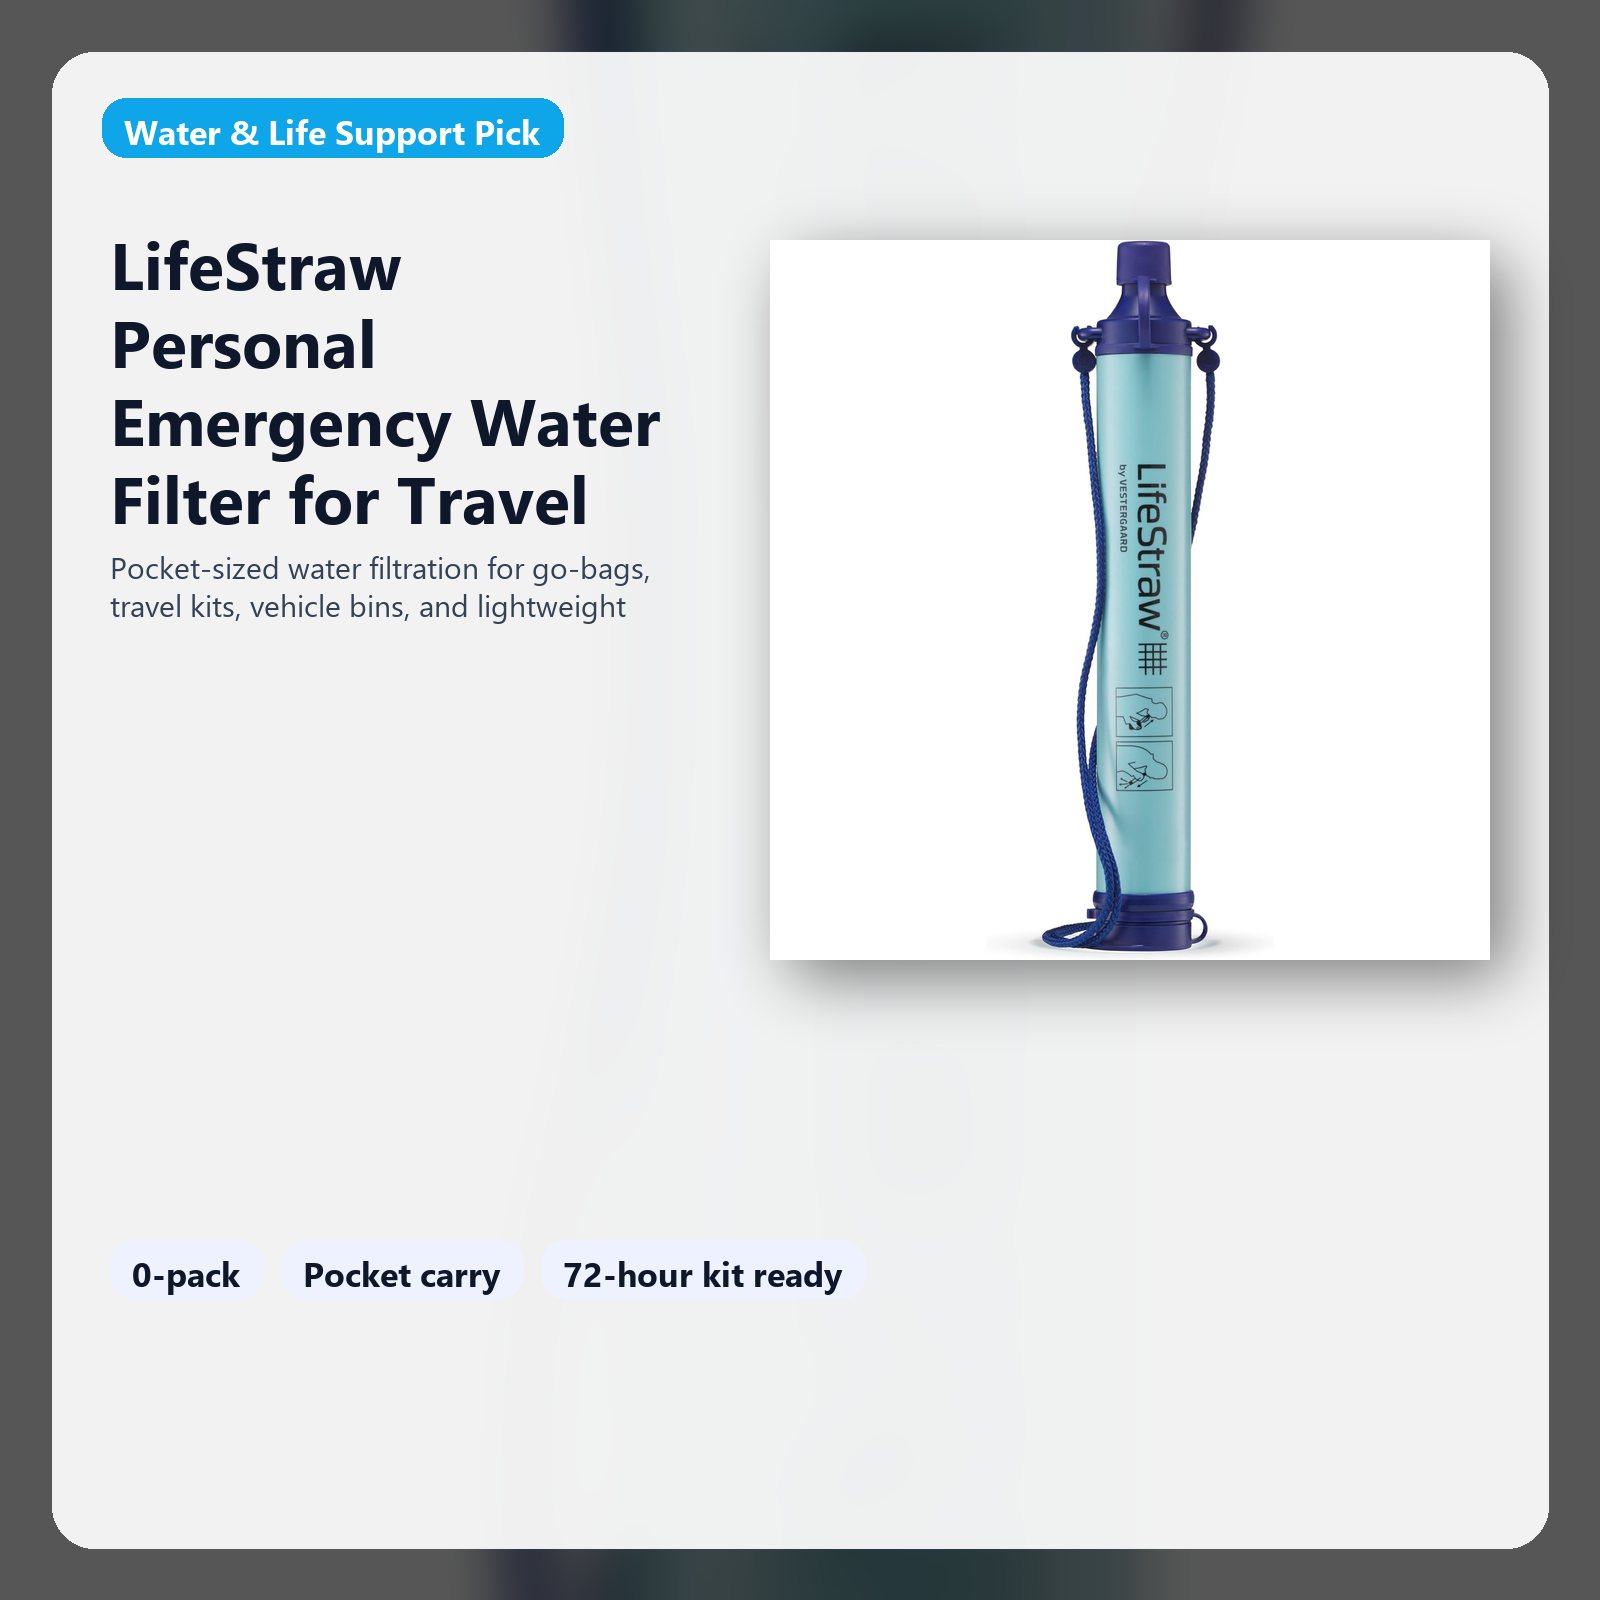
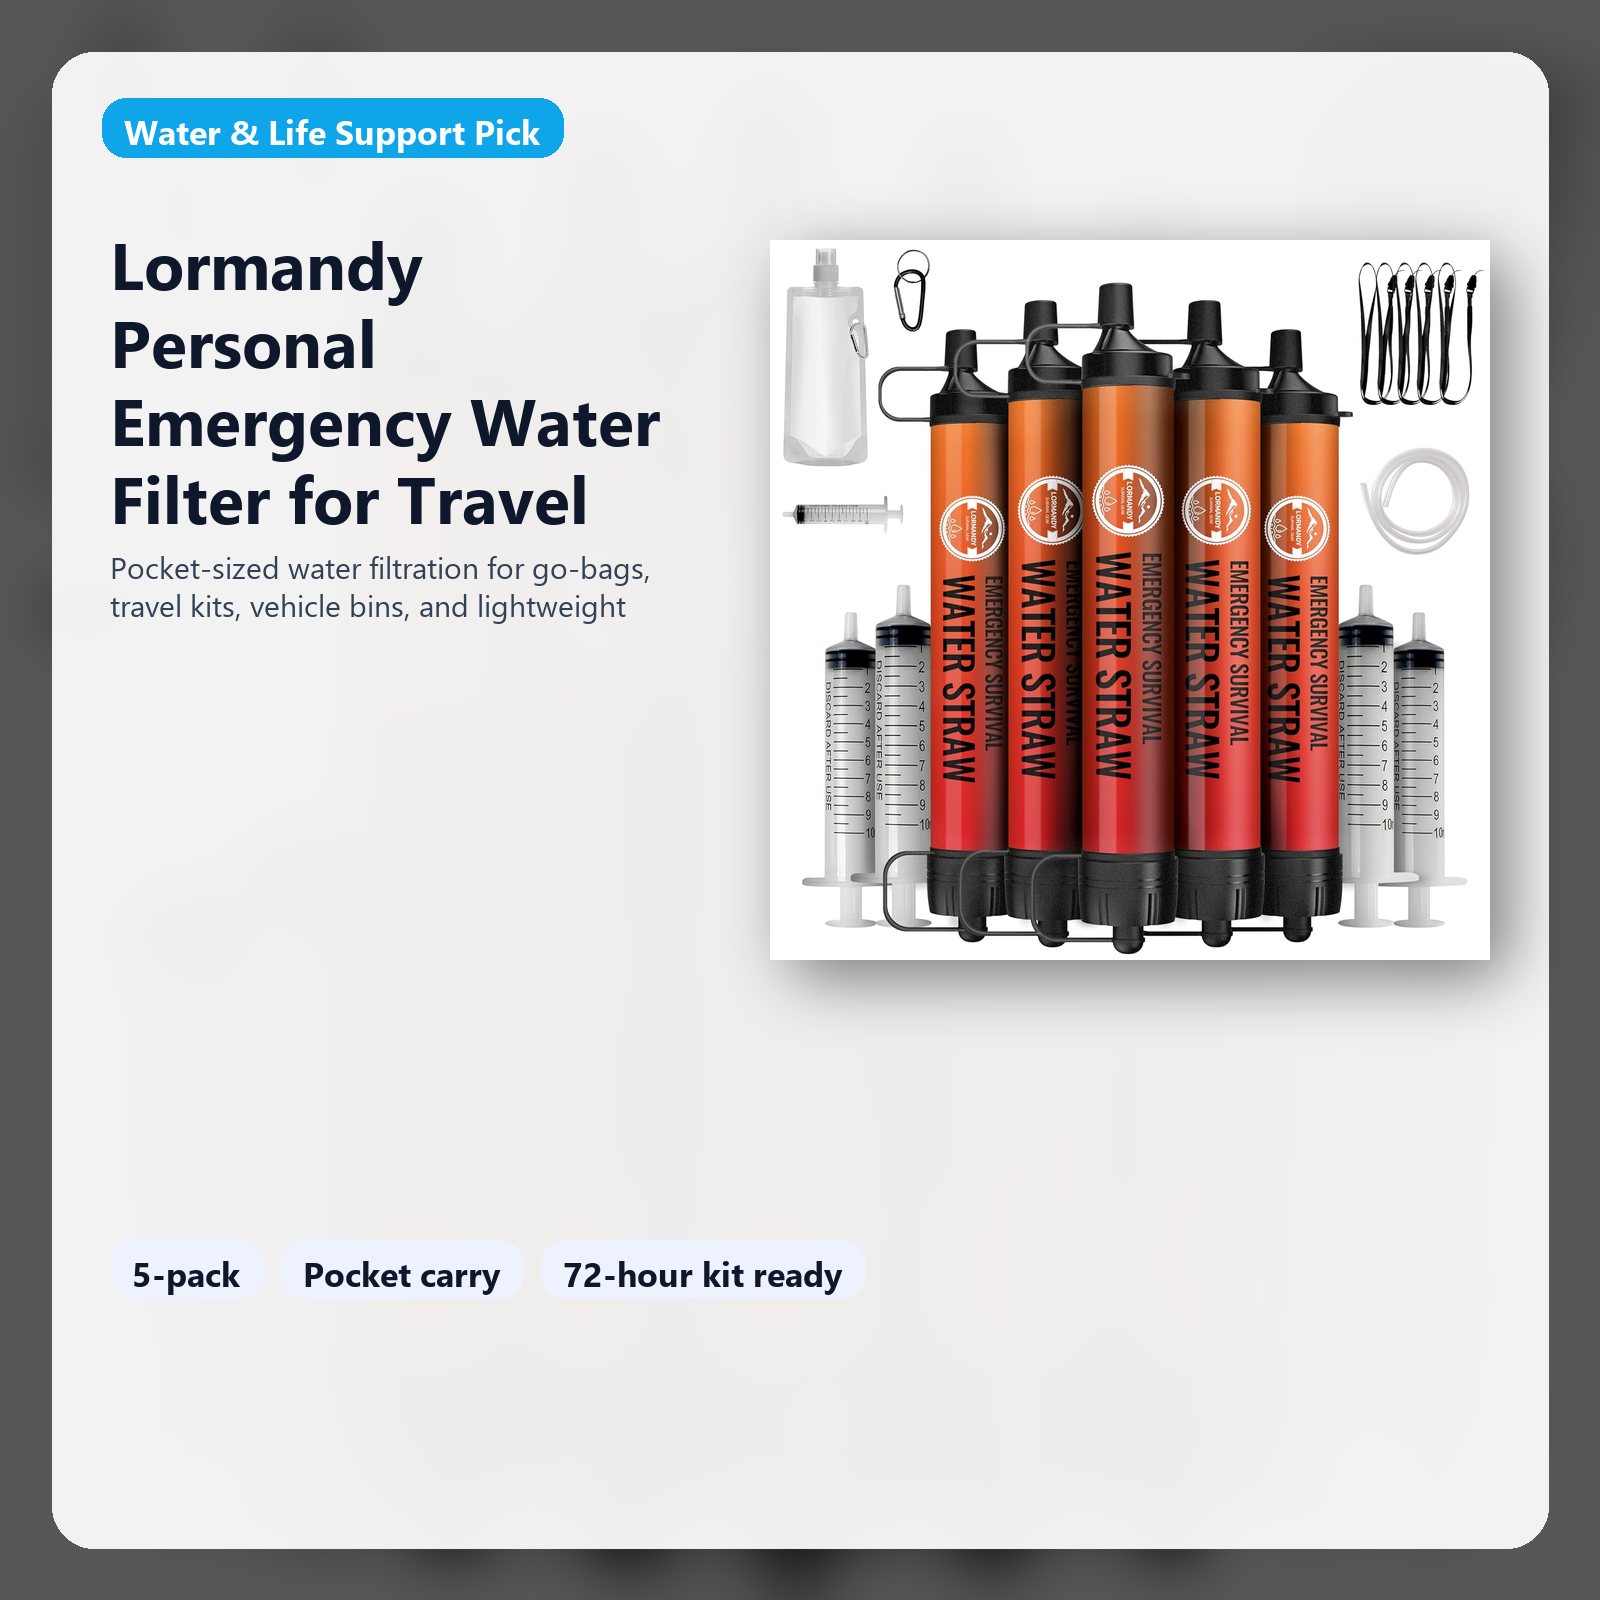
- Water: 6 gallons minimum (3 days for one person, or 1.5 days for two). Use commercially sealed 16oz water pouches that stack flat. They last 5 years, do not leak, and fit in a dresser drawer. Supplement with a personal water filter straw that lets you drink from your building’s fire reserve, a bathtub filled before the storm, or a neighbor’s questionable tap water.
- Food: 6,000-9,000 calories of no-cook food. Energy bars, nut butter packets, dried fruit, canned tuna with pull-tab lids. If you invest in a freeze-dried meal kit, you only need hot water (your power station can run a small electric kettle for 3-5 boils on a single charge).
- One collapsible 2.5-gallon water container for hauling water from a distribution point or a working faucet in another building. This folds flat when empty and lives behind a door.
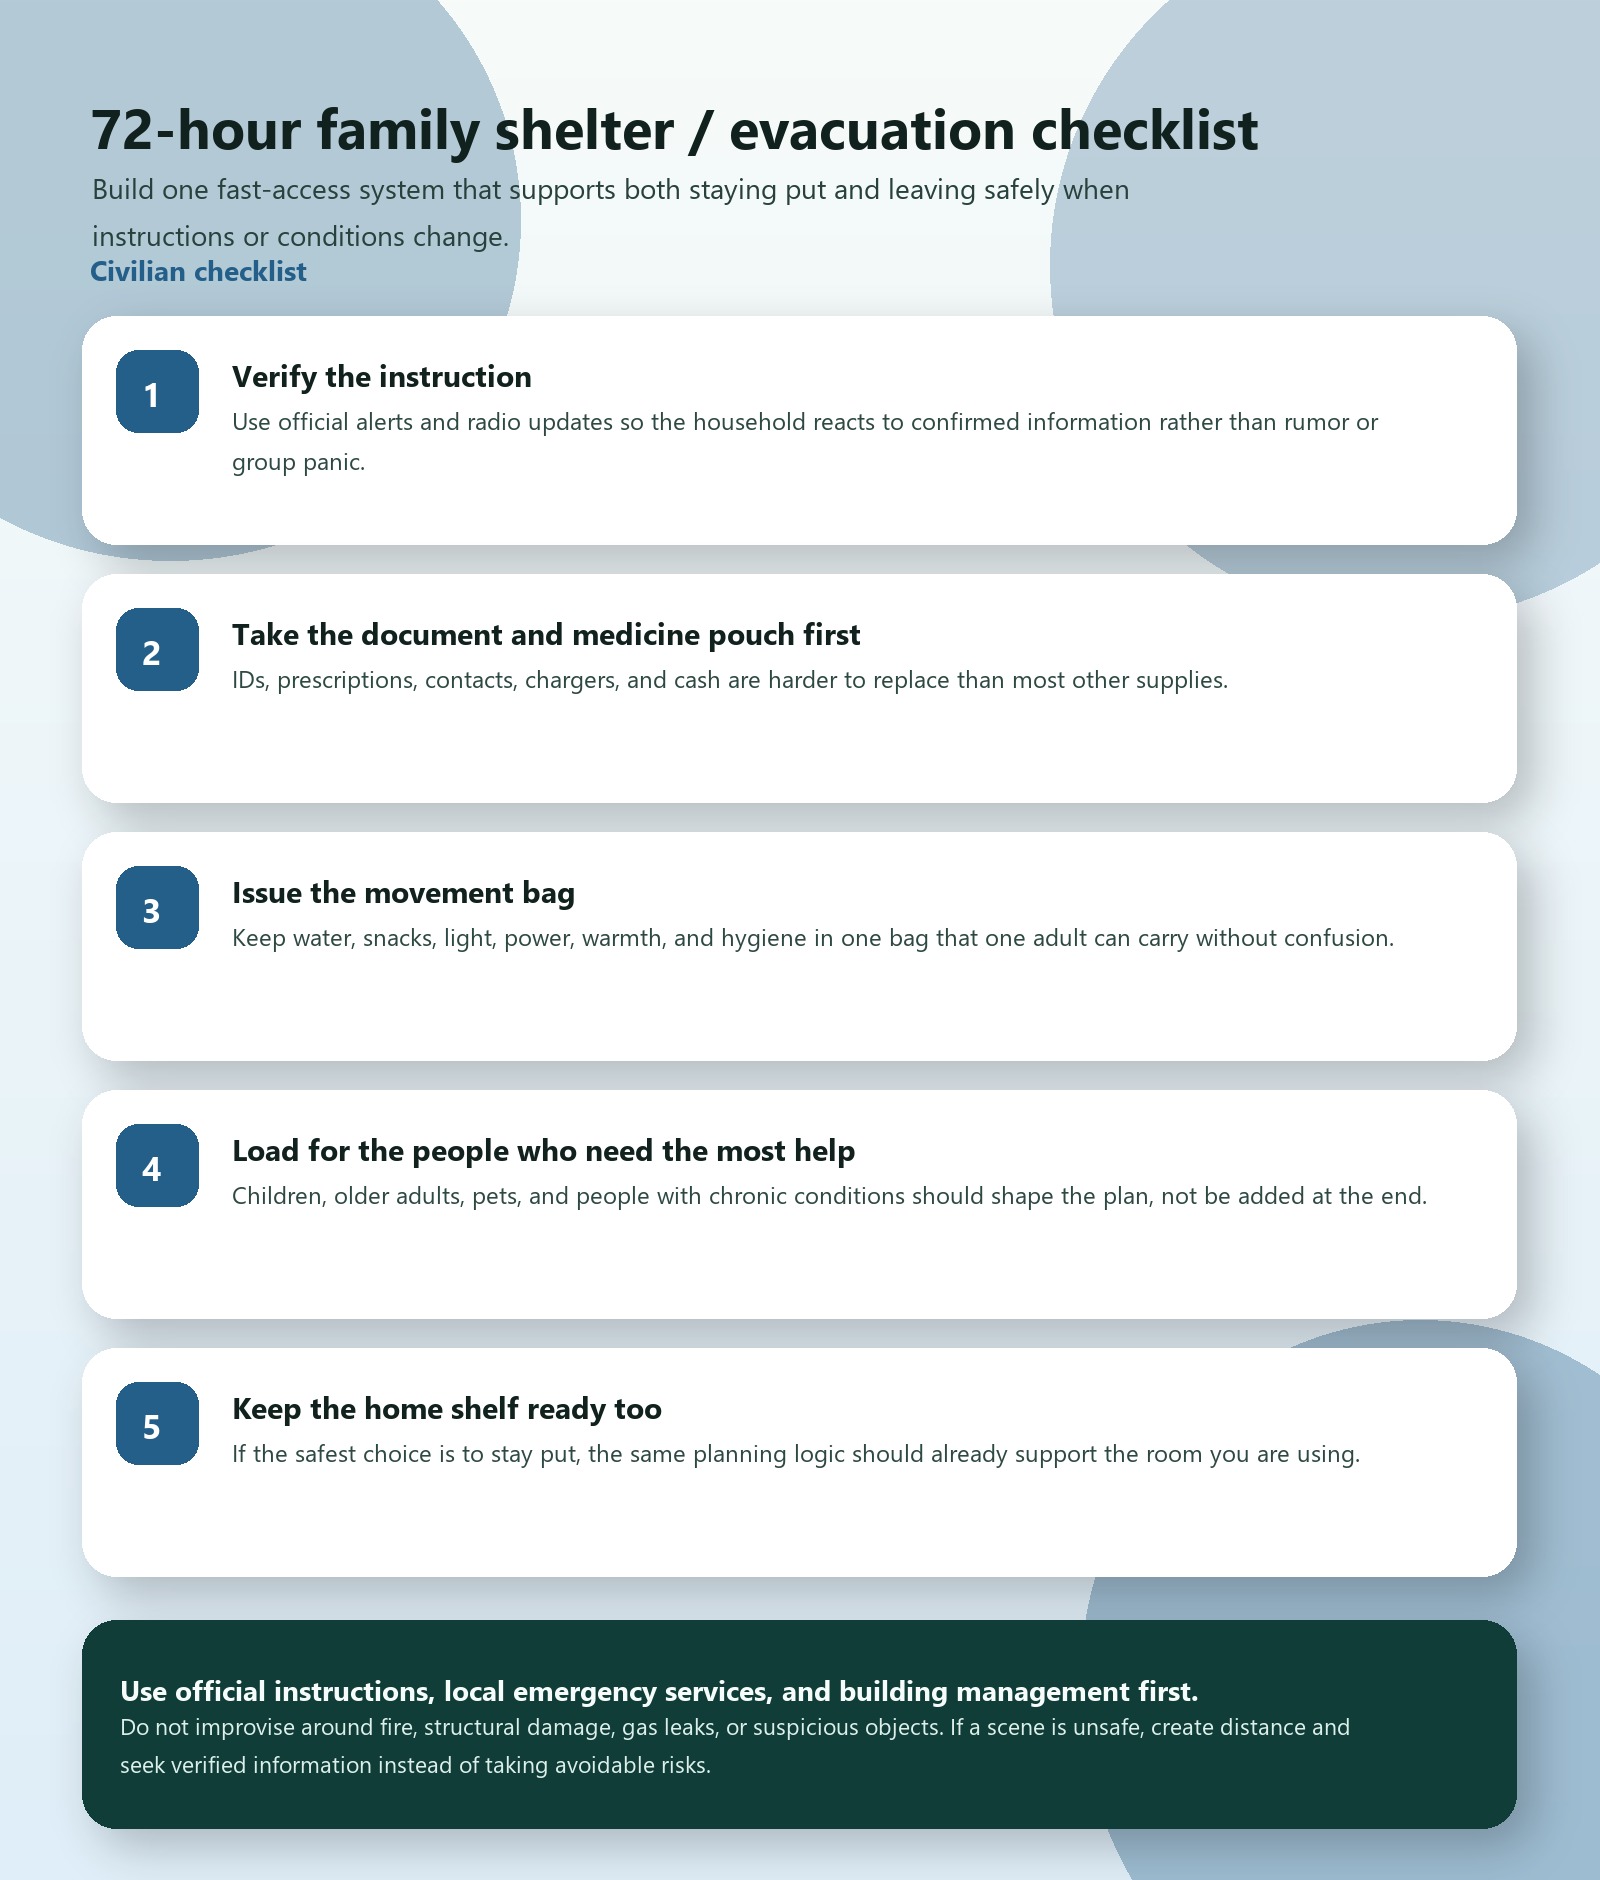
Layer 3: The Go-Bag (Grab in 90 Seconds)
Building evacuations do not give you time to pack. A small backpack by the front door with the following handles most evacuation scenarios:
- Copies of ID, insurance cards, and emergency contacts in a waterproof pouch
- $200 cash in small bills (ATMs and card readers fail during outages)
- Phone charger + small power bank (5,000-10,000mAh)
- One emergency blanket per person (weighs 2oz, prevents hypothermia if you are standing in a parking lot at 2 AM in January)
- A compact first aid kit (adhesive bandages, ibuprofen, any daily medications)
- Apartment key, car key (if applicable), one change of underwear and socks
- N95 mask (smoke from a neighboring unit, dust from structural damage, or the hazmat scenario)
Total weight: under 5 pounds. Total volume: fits in a drawstring daypack that hangs on a hook next to the door.
The Noise Factor: What Apartment Preppers Cannot Ignore
Generators are impossible. Gas stoves during outages produce carbon monoxide in enclosed spaces. Candles are a fire hazard that will void your renter’s insurance and possibly get you evicted. Even running a blender on a power station at 6 AM during an outage will generate noise complaints through thin walls.
Every piece of equipment in an apartment kit needs to be silent, fumeless, and flameless. This is why battery-powered LED lighting replaces candles, a power station replaces a generator, no-cook food replaces a camp stove, and a weather radio replaces a TV. The apartment-optimized kit is not a scaled-down version of a homeowner’s kit. It is a fundamentally different design for a fundamentally different environment.
Total Cost and Space
| Layer | Cost Range | Storage |
|---|---|---|
| Blackout Box | $180 – $350 | One closet shelf |
| Water + Food | $40 – $80 | One dresser drawer + pantry corner |
| Go-Bag | $50 – $100 | One hook by front door |
| Total | $270 – $530 | ~4 cubic feet total |
Less than a month of rent in most cities. Less space than a suitcase. And it covers the realistic emergencies that apartment renters actually face, not the apocalyptic fantasies that dominate preparedness marketing.
Choosing a Power Station: Quick Visual Comparison
The power station is the most important single purchase in this kit. This side-by-side comparison from The Solar Lab covers the best compact options currently available, including capacity, output ports, and real-world charging tests:
Start with Layer 1. A power station and two headlamps will change your next blackout from a crisis into an inconvenience. Build Layer 2 and Layer 3 over the following month. And charge the power station quarterly, the same day you check your smoke detector batteries.
Browse our full emergency preparedness catalog or jump directly to the categories that matter most for apartment readiness: portable power, emergency lighting, water filtration, and thermal protection.